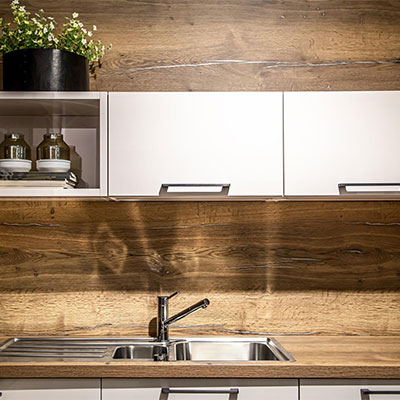
 A backsplash is one of the quickest ways to upgrade your kitchen. Whether you like a clean, modern look or a warm, rustic vibe, your backsplash can help to tie the whole design together. But preparation, before a single tile is laid or a single glob of adhesive is put on, is the crucial thing. At Arch Kitchen Cabinets, we believe that a well-prepped kitchen leads to a perfect finish. Here’s how to prepare your kitchen for a professional backsplash installation.
1. Clear the Workspace
Begin by clearing everything off your counters, from small appliances and utensils to decorative objects. That also frees up the space for easy installation and avoids any possible damage during installation. If you can, take down wall-mounted accessories such as spice racks or hooks, too.
Tip: Protect neighboring surfaces from dust and debris by covering with plastic or a drop cloth.
2. Turn Off Power to Nearby Outlets
Electrical outlets and light switches are a constant with backsplash installs. For safety measures, shut off the power to the kitchen or the individual circuit that controls those outlets. Please take off the outlet covers so that the tile can sit flush with them.
3. Clean the Walls Thoroughly
Ensure the surface you are applying the backsplash to is clean and dry. Wipe down the walls with a mild degreaser (either a cloth or a sponge) and remove any oil, grime, or food residue. Tiles require a smooth surface to stick to.
Note: Please do not use if the cloth is excessively wet, as this will decrease stickiness due to the adhesive.
4. Inspect and Repair the Wall Surface
Check the drywall for dents, holes or cracks. Fill them with spackling compound and allow them to fully dry. Rough or damaged walls can cause an uneven surface, which is why smoothing everything out beforehand is key.
5. Measure and Mark the Layout
Using a level and a pencil, mark the level and the guidelines on the wall. Begin from the middle and work your way towards the edge of the space to create symmetry, especially if tiles are patterned. Planning the tile layout prevents bad cuts and visual narrow spots.
6. Have Your Materials Ready
Before the day you install the pipe overlay, all materials needed should be on hand – 27 parties.
- Tiles and spacers
- Adhesive or mortar
- Grout and sealant
- Tile cutter or wet saw
- Notched trowel and sponge
Pre-ordering materials and inspecting for flaws or damage can prevent setbacks.
7. Coordinate with Your Installer
If you’re hiring a professional to install your backsplash, such as the professionals at Arch Kitchen Cabinets, inform them of your design tastes and your timeline in advance. Show up for measurements and final confirmations to make sure everything is going as planned.
Final Thoughts
Getting ready for backsplash installation in your kitchen is not just about clearing space — it’s practically a prelude to a beautiful and functional upgrade. With a bit of planning and a touch of detail you can take your kitchen to a more modern and stylish place.
At Arch Kitchen Cabinets we never just install kitchens – we create the kitchens that you have always wanted. Reach out to us today for in-depth backsplash design and installation done your way!
Need to create your own favorite backsplash?
See Arch Kitchen Cabinets for inspiration and professional assistance.
